Back to blog home
Introducing the Rhombus Windows Video Wall
by Scott Wisotsky, on August 18th, 2026
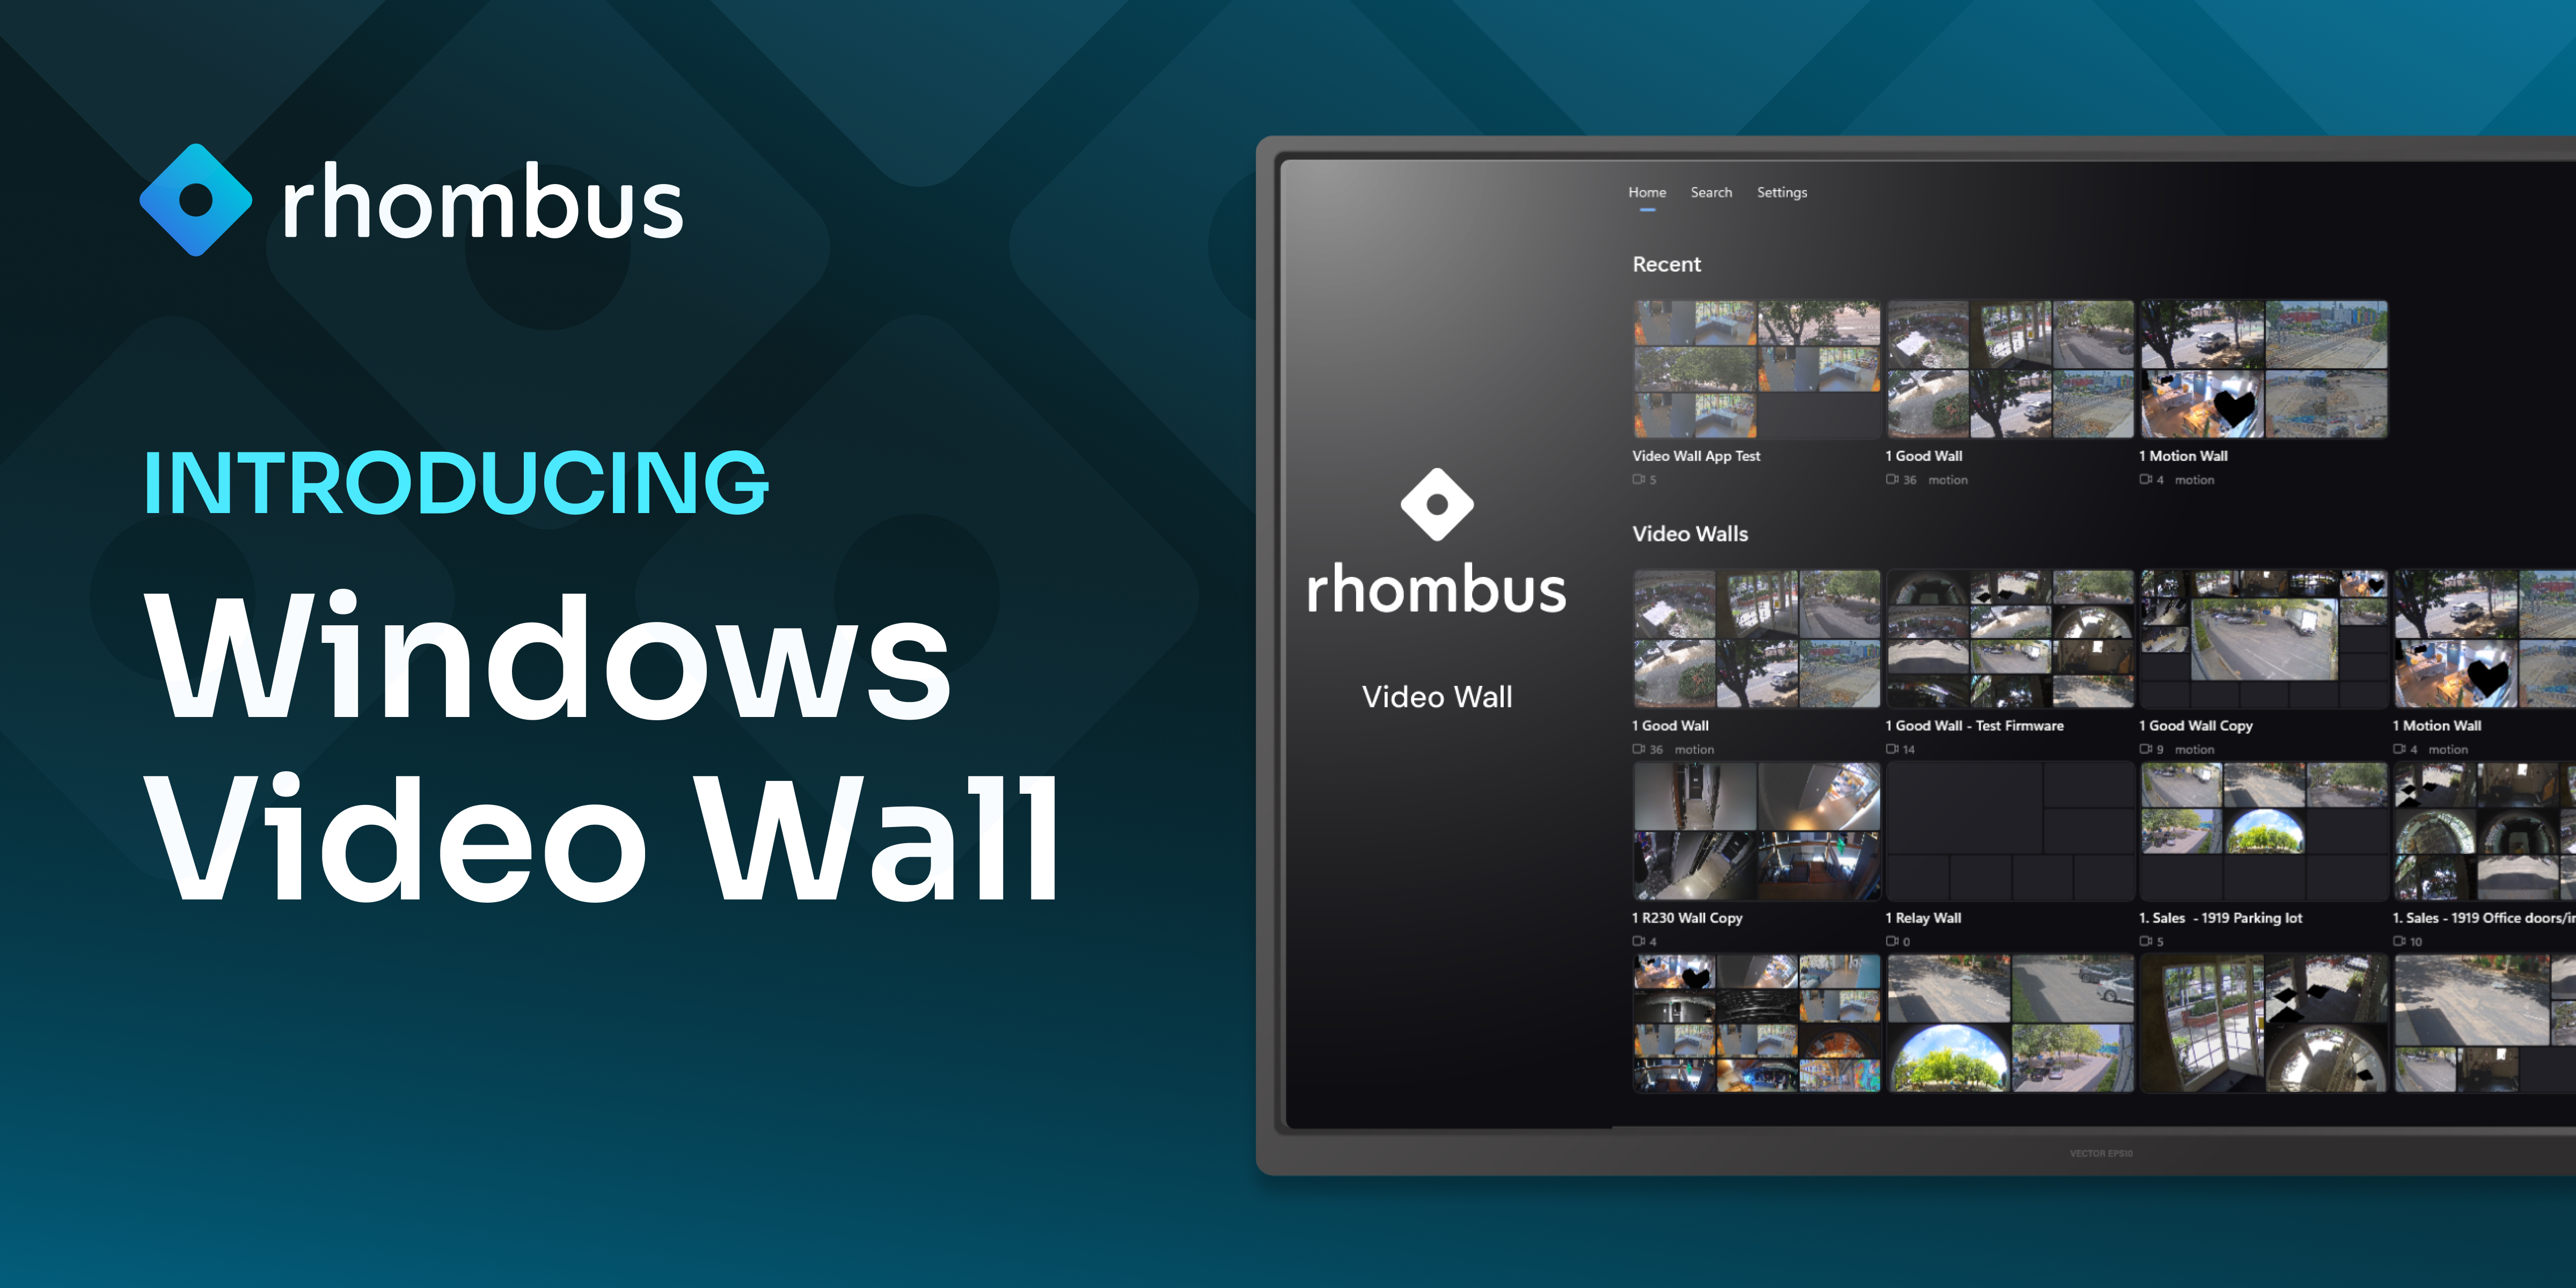
Product UpdatesRhombus customers have loved being able to view live Video Walls on TV screens through our Apple TV app, and now that same experience is coming to Windows. If you’ve ever wanted to turn a spare monitor or TV into a live view of every camera, now you can with the Rhombus Windows Video Wall.
Why We Created the Rhombus Windows Video Wall
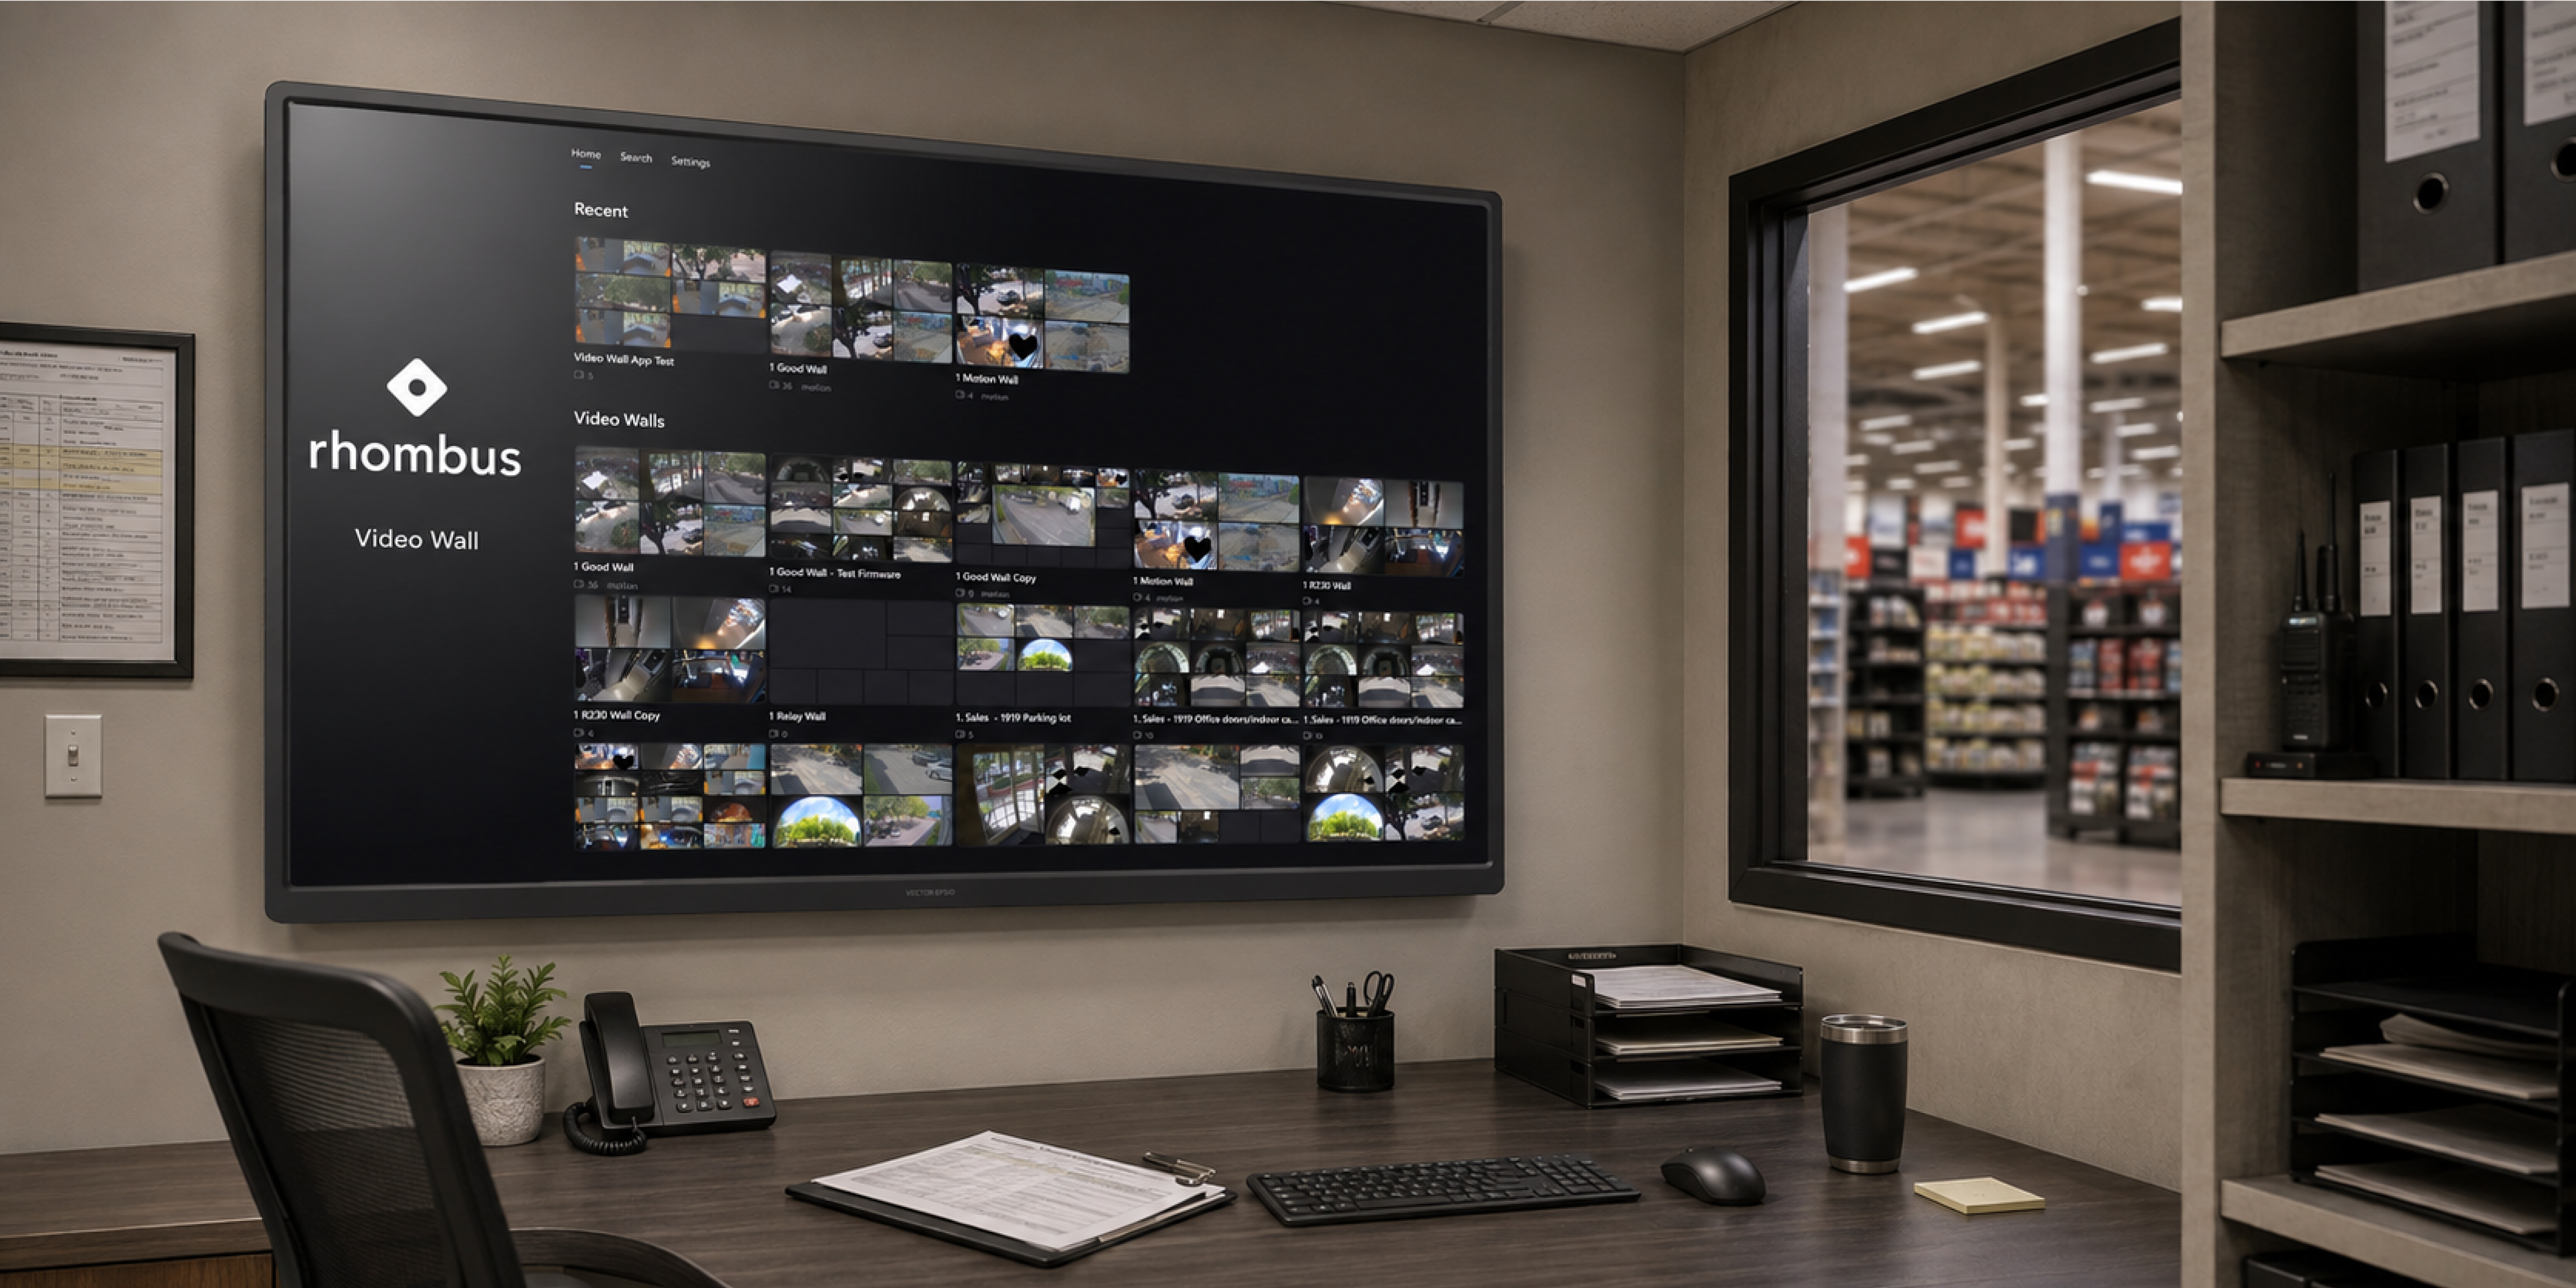
Video Walls are one of the simplest, highest-impact ways to put live camera footage in front of the people who need it to see it. Instead of viewing live security camera streams in a browser tab on a computer, many of our customers need to see live feeds at a front desk, security monitoring room, store manager’s office, or similar location. Until now, that experience lived primarily on the Rhombus Apple TV app. This has worked great for a lot of teams, but not every site has an Apple TV, and many IT departments already standardize Windows hardware for signage, displays, and their entire tech stack.
We built the Rhombus Windows Video Wall to meet customers where their hardware already is. Whether it’s a mini-PC tucked behind a monitor, a small computer, or a PC stick, Rhombus Windows Video Wall turns any compatible hardware running Windows 10 1809 or later and a display screen into a dedicated, always-on Rhombus appliance.
Key Features
100% free for Rhombus customers
Unlike many other cloud-based physical security companies, Rhombus does not sell viewing stations. Both the Apple TV app and Windows Video Wall are 100% completely free to download and use with your Rhombus subscription. No additional licenses are required to use the Rhombus Windows Video Wall.
Built for smooth performance at scale
A 4x4 wall with 16 live camera streams at once runs comfortably on entry-level hardware. The app automatically uses standard-resolution streams for small tiles and reserves high-resolution decoding for full-screen views, keeping large walls smooth even on modest GPUs.
Built to run unattended
Rhombus Windows Video Wall is built to be configured once and left alone. Turn on Kiosk Mode, set an Auto-Start wall, and enable Windows auto sign-in on the kiosk account, and the app will recover itself through power cycles, crashes, Windows updates, and app updates. No one needs to manually restart or refresh anything.
Fully customizable from your console
Customize walls, cameras, layouts, and rotations in the Rhombus Console. The Windows app is simply a tool to mirror your Console configuration into a large display.
Multi-monitor support
One Windows PC can drive several displays, each showing a different wall. Every monitor runs its own profile with its own settings and startup wall, while all instances share a single device activation on that machine.
Automatic, IT-friendly updates
The Rhombus Windows Video Wall checks for new versions automatically and stages them for your nightly restart window (3:00 AM by default), or you can trigger an update manually.
Smart streaming that adapts to your network
By default, the app streams directly from cameras over your local network when it can and automatically falls back to the Rhombus cloud when it can’t. A LAN badge lets you see at a glance which tiles are streaming locally.
Secure by default
Credentials and stream-access URLs are encrypted with Windows DPAPI, the device’s identity key is non-exportable, and thumbnails are stored encrypted. Logging out a device wipes all local credentials and cached data immediately, and logs never contain credentials, tokens, or video.
How to Get Rhombus Windows Video Wall Set Up on Your Display
Setting up a Windows PC as a Rhombus Video Wall takes just a few minutes:
-
Check your hardware. You’ll need :
- Windows 10 1809 or later (Windows 11 Pro/IoT recommended for kiosks)
- a 64-bit CPU with hardware H.264 decoding (Intel Quick Sync in an N100/i3-class chip is plenty)
- 8 GB of RAM
- Wi-Fi internet connection works, but a wired Gigabit Ethernet connection is recommended.
-
Connect your PC to a display. Any monitor or TV with an HDMI input works.
-
Download and install the app. Go to downloads.rhombus.com, download the .appinstaller file under Rhombus Video Wall (Windows), and open it. Windows App Installer handles the signed package install.
-
Activate the display. Launch the app and it will show a five-character activation code. In the Rhombus Console, go to Settings → API Management, open the TV app activation section, and enter the code. The wall signs itself in within seconds.
-
Turn on appliance mode In Settings, enable Kiosk Mode, set your Auto-Start wall, and configure Windows to auto sign-in as the kiosk account. That’s the combination that lets the display recover on its own from reboots, crashes, and updates.
Resource Links
%20--%3e%3csvg%20version='1.1'%20id='Layer_1'%20xmlns='http://www.w3.org/2000/svg'%20xmlns:xlink='http://www.w3.org/1999/xlink'%20x='0px'%20y='0px'%20viewBox='0%200%20110%20110'%20style='enable-background:new%200%200%20110%20110;'%20xml:space='preserve'%3e%3cstyle%20type='text/css'%3e%20.st0{fill:url(%23SVGID_1_);}%20%3c/style%3e%3cg%3e%3clinearGradient%20id='SVGID_1_'%20gradientUnits='userSpaceOnUse'%20x1='25.325'%20y1='766.725'%20x2='84.725'%20y2='707.325'%20gradientTransform='matrix(1%200%200%201%200%20-682)'%3e%3cstop%20offset='0'%20style='stop-color:%23006F94'/%3e%3cstop%20offset='1'%20style='stop-color:%2300C1DE'/%3e%3c/linearGradient%3e%3cpath%20class='st0'%20d='M106.9,47.5L62.5,3.1c-4.1-4.1-10.9-4.1-15,0L3.1,47.5c-4.1,4.1-4.1,10.9,0,15l44.4,44.4%20c4.2,4.2,10.9,4.2,15.1,0L107,62.5C111,58.4,111,51.6,106.9,47.5z%20M55.5,71.2c-9.4,0.3-17-7.3-16.7-16.7C39.1,46,46,39.1,54.5,38.8%20c9.3-0.3,17,7.3,16.7,16.7C70.9,64,64,70.9,55.5,71.2z'/%3e%3c/g%3e%3c/svg%3e)
Related Articles